


Prep a Canvas: A Guide for Stretching and Prepping a Canvas for Painting
How do you prep a canvas? Creating a beautiful piece of art starts long before the first brushstroke. The foundation of any painting is the canvas, and proper preparation is crucial for achieving the best results. Understanding how to prep a canvas ensures your artwork will last for years to come.
Stretching Your Own Canvas:
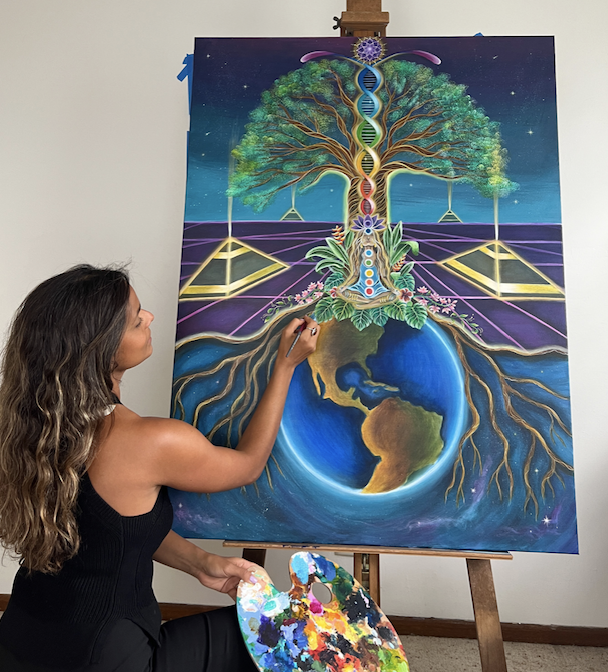
For artists who prefer a hands-on approach or need custom-sized canvases, stretching your own canvas is a rewarding skill to learn. This process requires more time and effort but offers complete control over the quality and dimensions of your canvas.
Materials Needed:
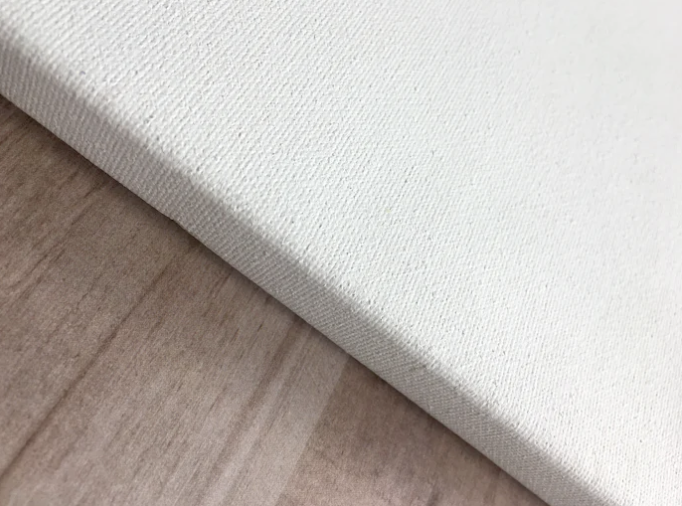
- Canvas fabric (cotton or linen, either new or recycled. Learn more about how to be an environmentally friendly artist).
- Stretcher bars (pre-cut or custom-made)
- Canvas pliers
- Staple gun and staples
- Scissors
- Gesso
- Sandpaper (fine grit)
- A wide brush or roller
- Measuring tape
Steps for Stretching and Preparing Your Canvas:
- Assemble the Stretcher Frame:
- Lay out the stretcher bars on a flat surface and fit them together at the corners to form a square or rectangular frame. Ensure the corners are square and the frame is flat.
- Cut the Canvas:
- Roll out the canvas fabric and place the stretcher frame on top. Measure and cut the canvas, leaving an extra 2-3 inches on all sides to wrap around the frame.
- Attach the Canvas:
-
- Center the canvas over the frame and start stapling it to the back of the stretcher bars. Begin in the center of one side and work your way to the corners, using canvas pliers to pull the fabric tight as you go.
- Staple the opposite side next, then the remaining two sides, always working from the center outwards. Ensure the canvas is evenly stretched and free of wrinkles.
- Fold the Corners:
- Neatly fold the corners of the canvas and staple them to the frame. This step may take some practice to achieve a clean, professional finish.
- Trim Excess Canvas:
-
- Use scissors to trim any excess canvas from the back of the frame, being careful not to cut too close to the staples.
- Apply Gesso:
- Just like with a pre-stretched canvas, apply a layer of gesso to the surface. Use a wide brush or roller to spread it evenly, and let it dry completely.
- Lightly sand the dried gesso and apply additional layers, sanding between each one. Typically, two to three layers of gesso are sufficient.
- Final Preparation:
- Inspect the canvas for any imperfections and make necessary adjustments. Your hand-stretched canvas is now ready for painting, with a customised size and a high-quality surface. It’s important to note if you are transporting your canvas overseas, sometimes stretching should be left until your art is complete. Read more on how to transport your canvas.
Check out top-rated local artists near you!
Are you an artist ? Sign Up


